Garmin Bike Speed And Cadence Sensor Manual
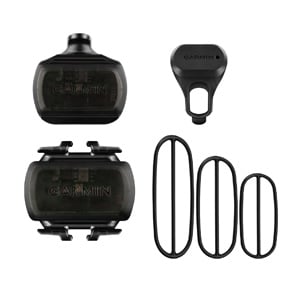
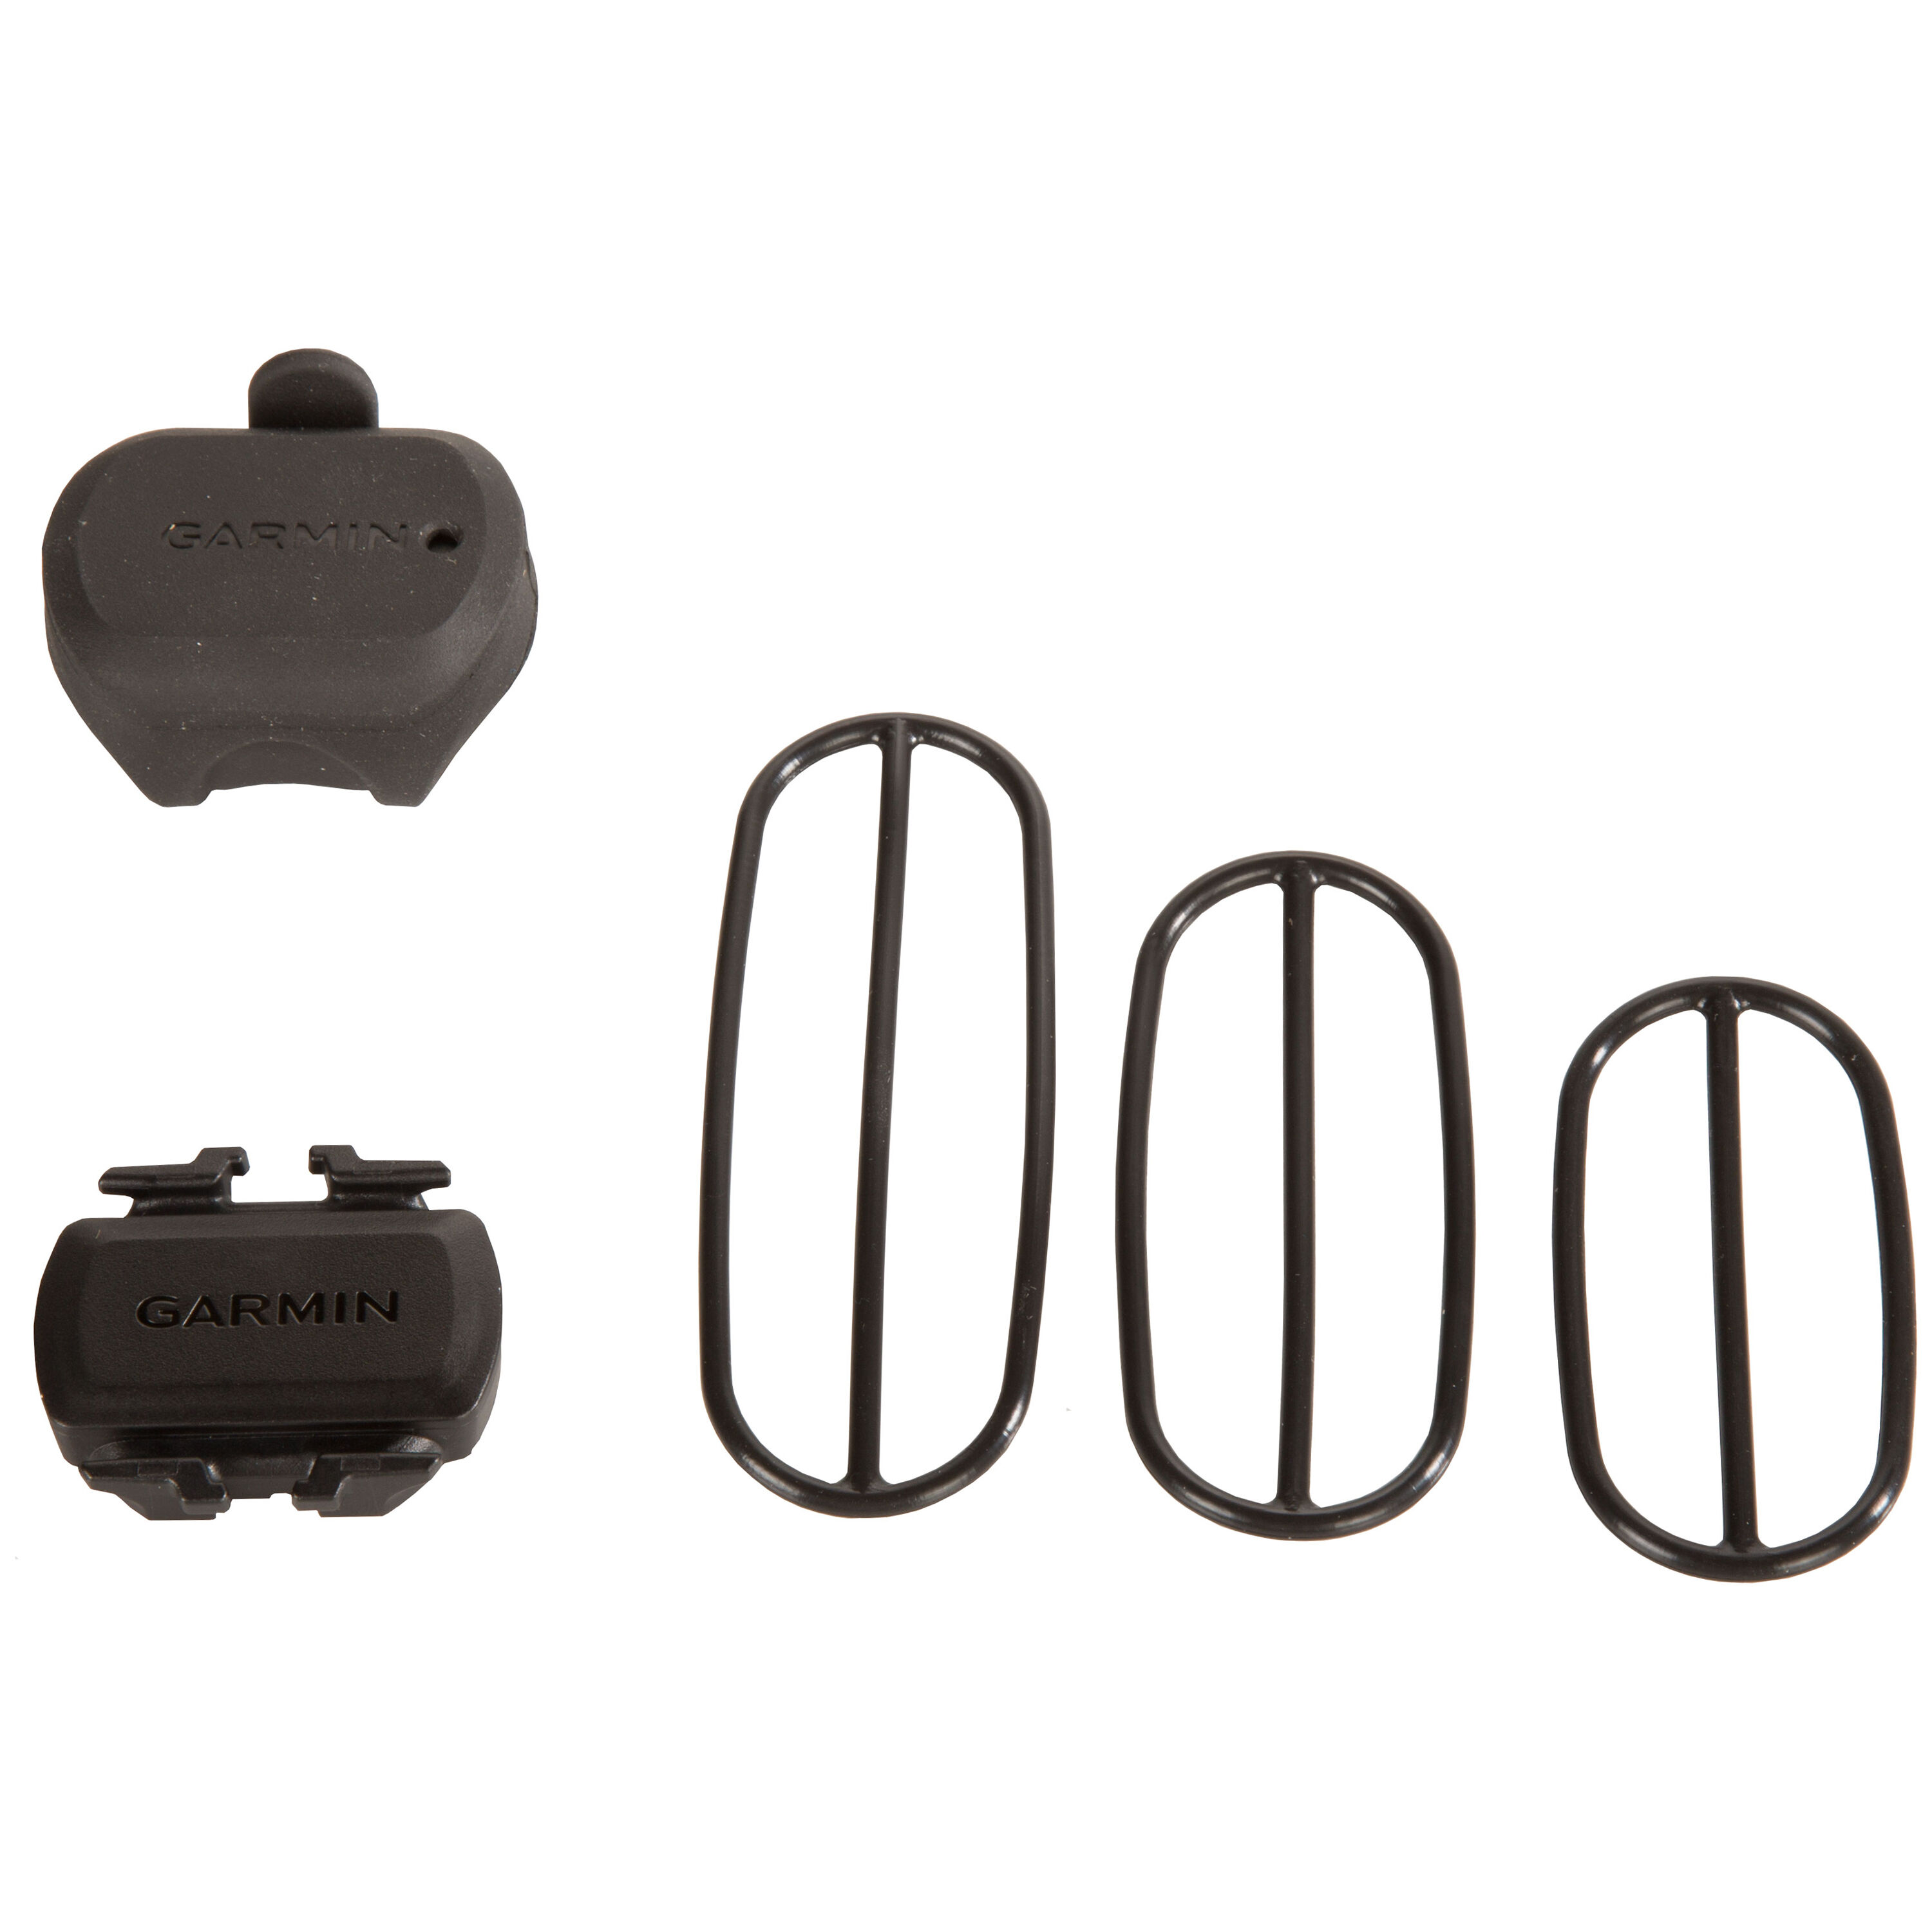
Bike Speed Sensor And Cadence Sensor Garmin
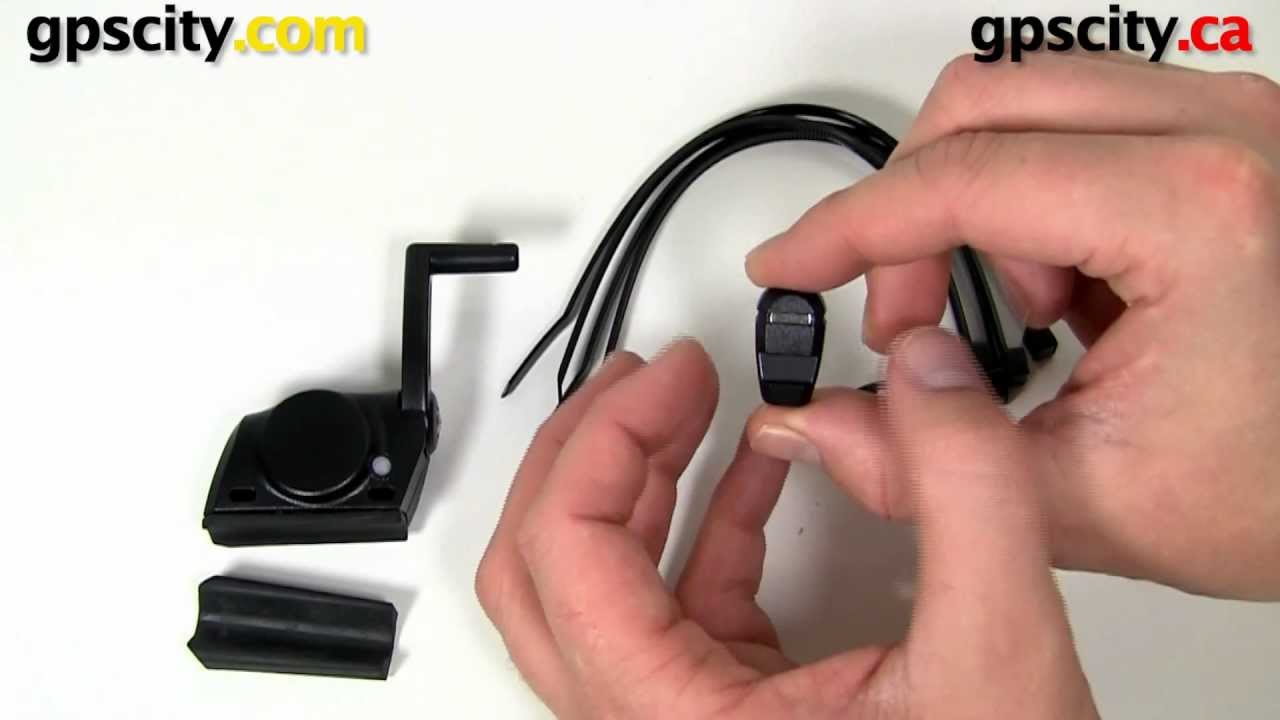
Garmin Speed And Cadence Sensor Overview At Gpscity Com Youtube
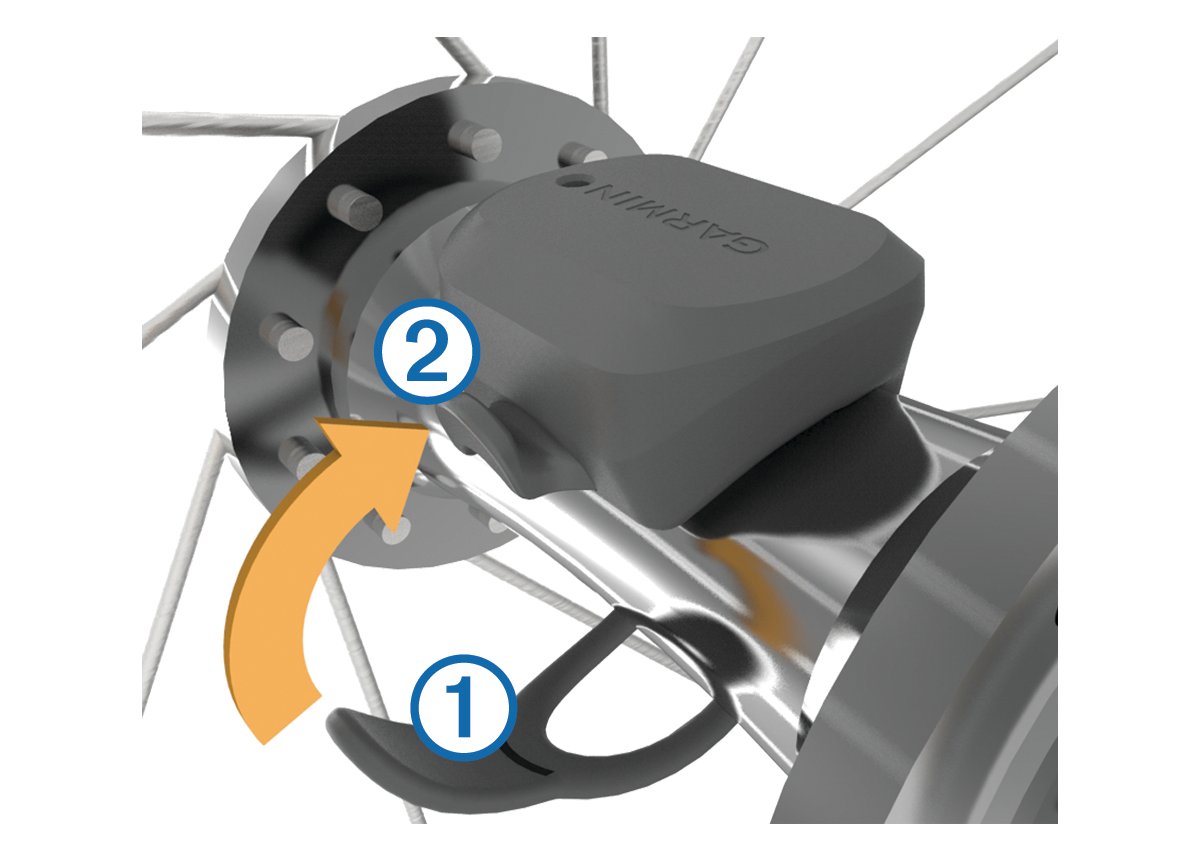
Speed Sensor And Cadence Sensor Instructions Installing The Speed Sensor
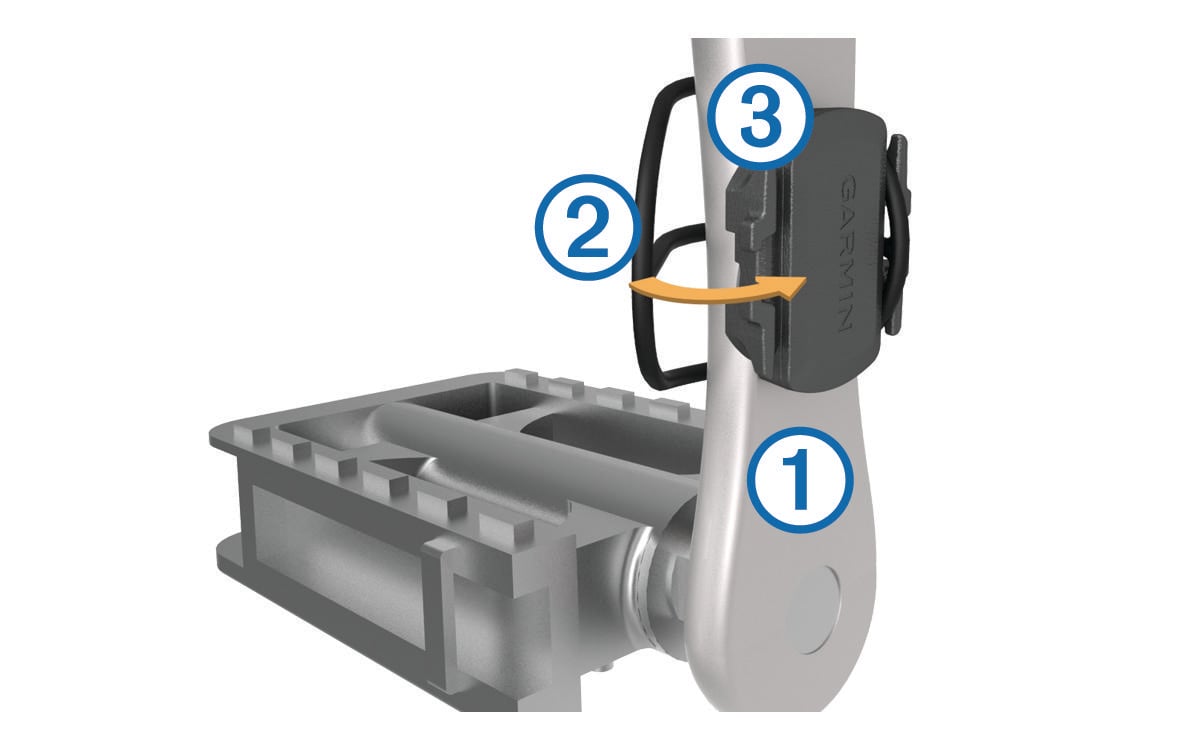
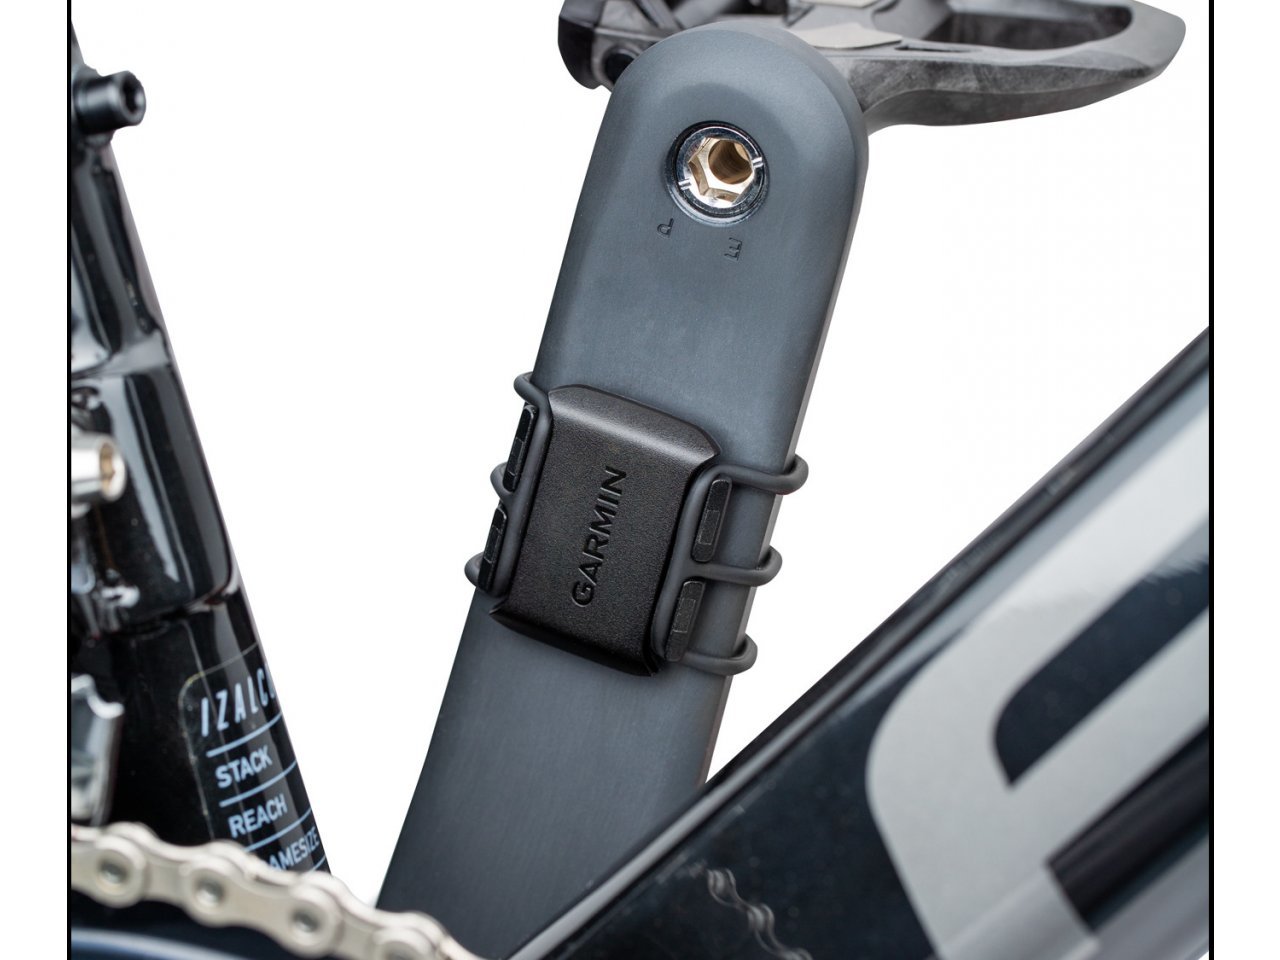
Speed Sensor And Cadence Sensor Instructions Installing The Cadence Sensor

Garmin Edge25 Bundle Garmin Garmin Edge Garmin Edge 25

Speed Sensor And Cadence Sensor Instructions Replacing The Speed Sensor Or Cadence Sensor Battery
Set your wheel size calibrating your speed sensor.
Garmin bike speed and cadence sensor manual.
Garmin Speed And Cadence Sensor Accuracy Unboxing Amazon Manual Outdoor Gear Edge 1000 Battery Setup 810 Expocafeperu Com
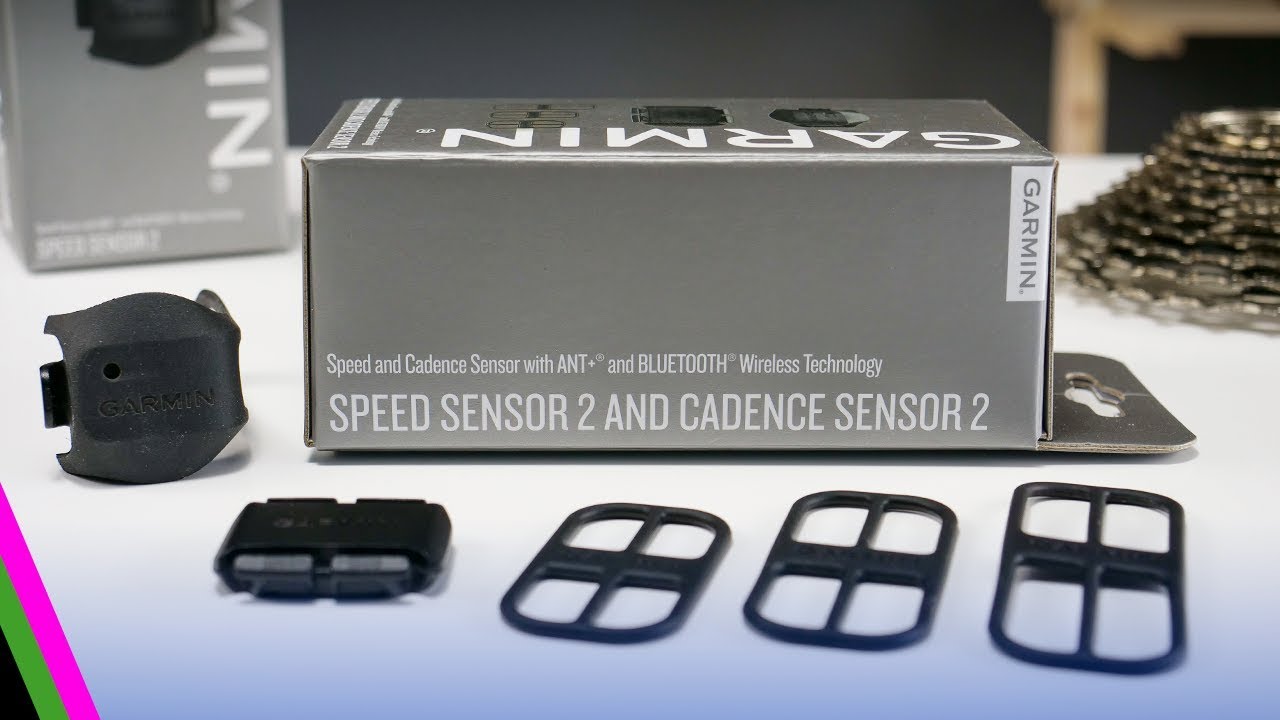
Garmin Speed Sensor 2 Cadence Sensor 2 In Depth Review Youtube
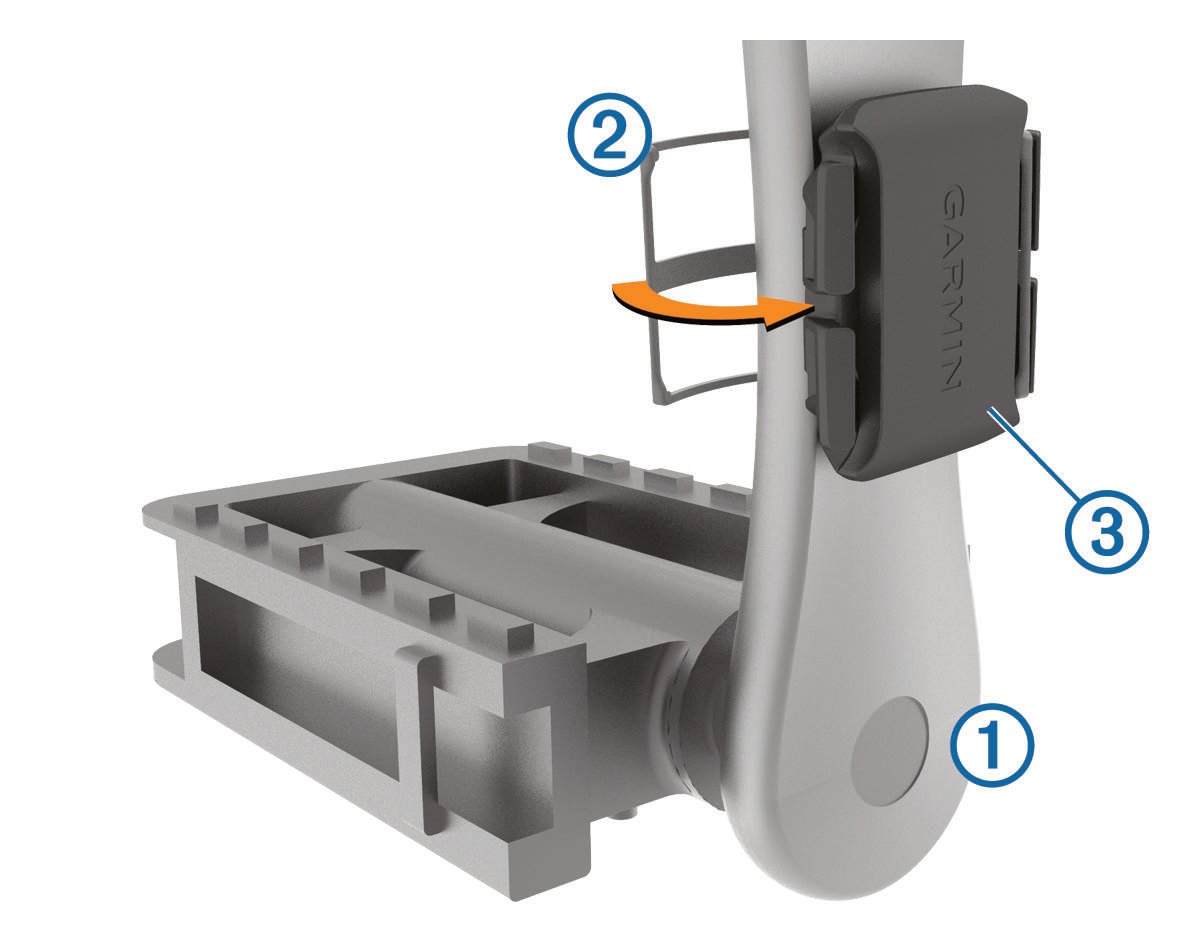
Speed Sensor 2 And Cadence Sensor 2 Installing The Cadence Sensor
Edge Devices And Speed And Cadence Sensor Compatibility Garmin Support
Source : pinterest.com
